640 × 360
↖Choose your frame.
Select an area, capture your screen, or pick a window. Adjust the selection before you commit.
 snapmark.
YOUR SCREEN, WITH A POINT.
Capture what matters. Add an arrow, a few words, or hide a private detail. Make your next screenshot speak for itself.
Free desktop app · Version 1.3.0 · Works locally
Windows · macOS · Linux
Made for the desktop.FROM “LOOK AT THIS” TO “GOT IT”
For feedback, quick instructions, and the small things that are easier to show.
Select an area, capture your screen, or pick a window. Adjust the selection before you commit.
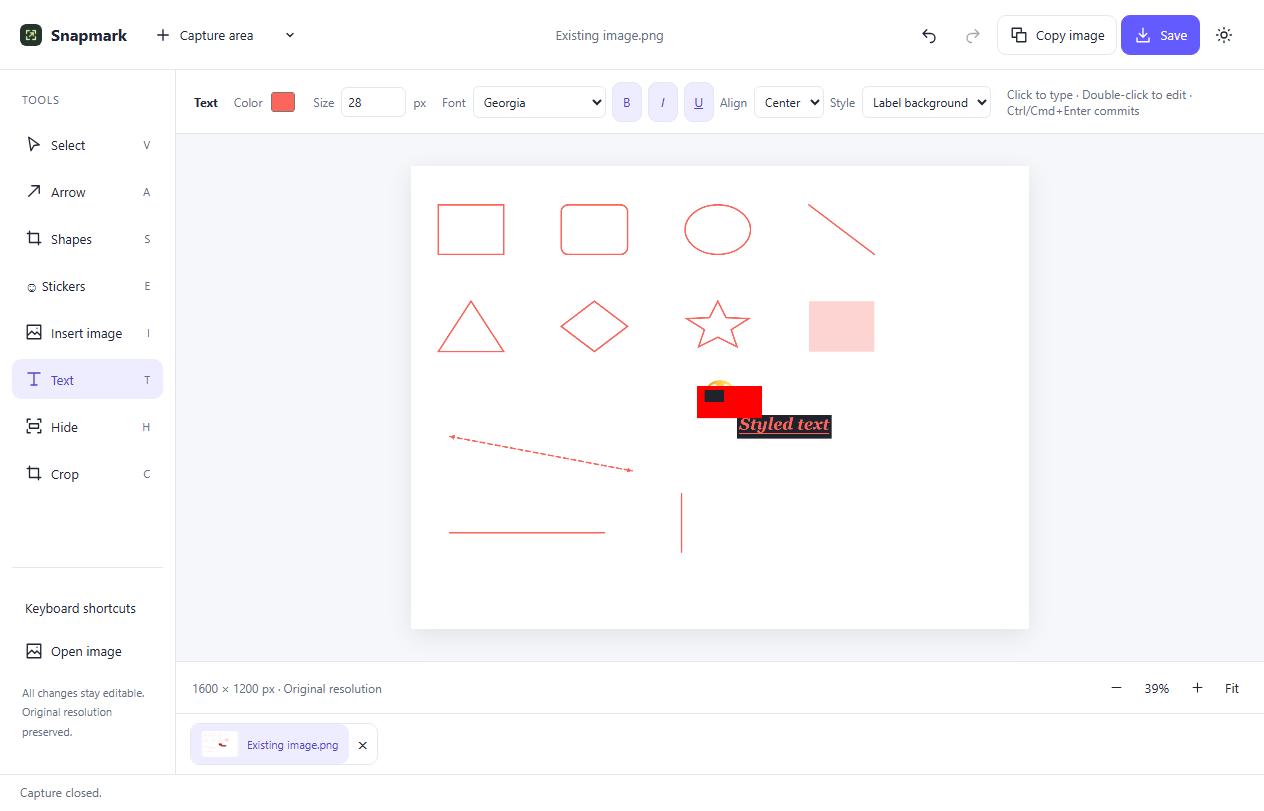
Add arrows, shapes, styled text, smileys, icons, or another image. Cover sensitive details with solid redaction. Move, resize, or undo your marks.
Copy straight to your clipboard or save a PNG. Your annotations and redactions become part of the image.
ROOM FOR THE IMAGE
A focused editor with labeled tools and settings that follow your selection. Keep multiple captures open, zoom into a detail, and undo without starting over.
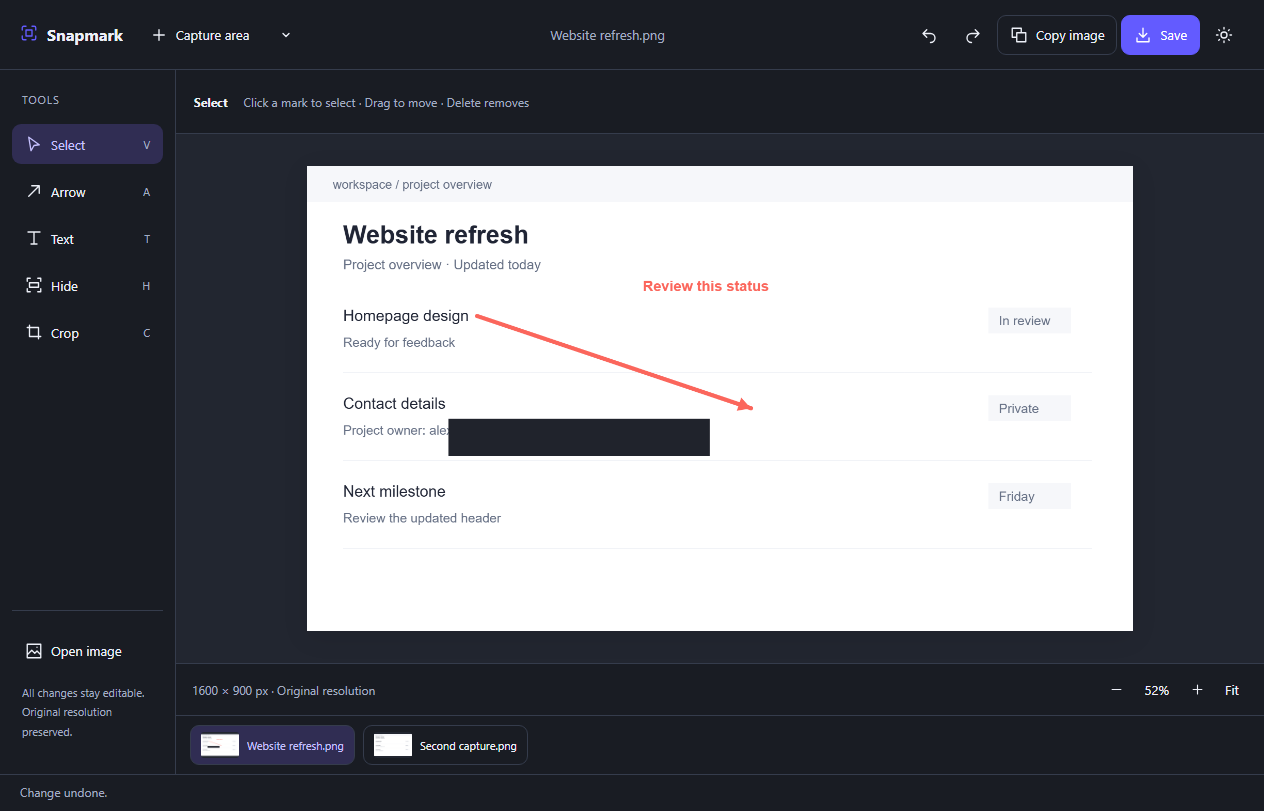 DARK MODE. SAME FOCUS.
Capture and editing happen on your computer. Snapmark doesn’t upload your screenshots or require an account. Save or copy only when you’re ready.
READY WHEN YOU ARE
Download Snapmark 1.3.0.
Choose the build for your computer.
64-bit desktop
Download installer Or get the portable app ↗Apple Silicon & Intel
Download for Apple Silicon Download for Intel Mac ↗x86_64 desktop
Download AppImage Download Debian / Ubuntu package ↗These builds are unsigned. Windows may show SmartScreen; macOS may ask you to allow the app in Privacy & Security. Windows capture and editing checks passed. macOS and Linux packages built successfully; capture still needs testing on those systems.
Verify download checksums ↗A FEW USEFUL DETAILS
Open Snapmark and choose Capture area. Drag a region, adjust its corners, then press Enter. Use the adjacent menu for full-screen or window capture. Escape cancels selection.
Saved PNGs and clipboard images contain solid redactions flattened above your other marks. Covered original pixels are absent from those outputs. The original stays in memory while editing so undo works, and your source file stays unchanged. Check the exported image before sharing.
On macOS, allow Screen Recording in System Settings → Privacy & Security, then restart Snapmark. Linux Wayland needs PipeWire and a desktop portal; your OS may show its own source picker.
Closing the window keeps Snapmark running in the system tray or menu bar, with captures and edits intact. Click its icon to return or use the tray menu to capture or quit. Quit clears the session; save your images first. There is no persistent history or crash recovery.
This version supports full-screen, rectangular-area and window capture. Scrolling capture and OCR are not included.